First things first: pick your editor. There are several mainstream editors currently available for Wolfenstein 3D. Before you start mapping, you need to use your editor of choice to load the game files.
In ChaosEdit, pick the "Load All" button in the upper right corner and select a folder with game files.
In HWE, click File -> Open Project and do the same. In WLEdit, use the Browse button then click Load Files.
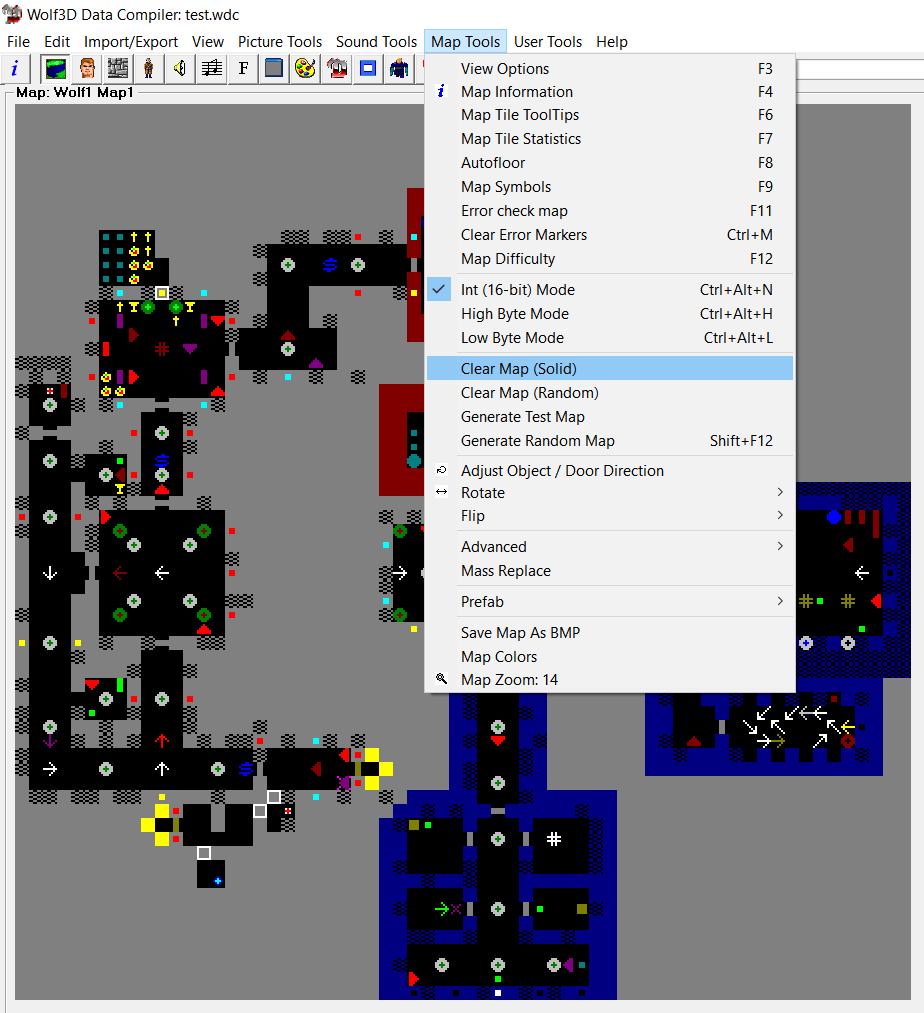
Finally, in WDC, things are a bit more complicated. Refer to the screenshot below. Number 1 "Base Data Folder" is where you click on the three dots and select the folder that contains your copy of Wolfenstein 3D. Now create an empty folder somewhere, call it Output or My Mod or something, click the three dots near 2 "Output Folder" and select the newly created folder. While using WDC, click on File -> Compile All to save your mapping progress.
That's all you need to start mapping. This guide will be using WDC, but knowledge gained this way will be useful for all aforementioned editors.

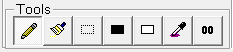
After loading the game files you will be faced with the mapping screen displaying good old E1M1. Let's get rid of it. In WDC, click Map Tools and then Clear Map (Solid). In other editors you will have to do it by hand, deleting everything in both planes. The solid rectangle tool comes in handy here. Every editor has such a tool, as well as several other common options like flood filling or tile picker. These are very useful in everyday mapping, so use them freely, just remember that ChaosEdit has no undo button.
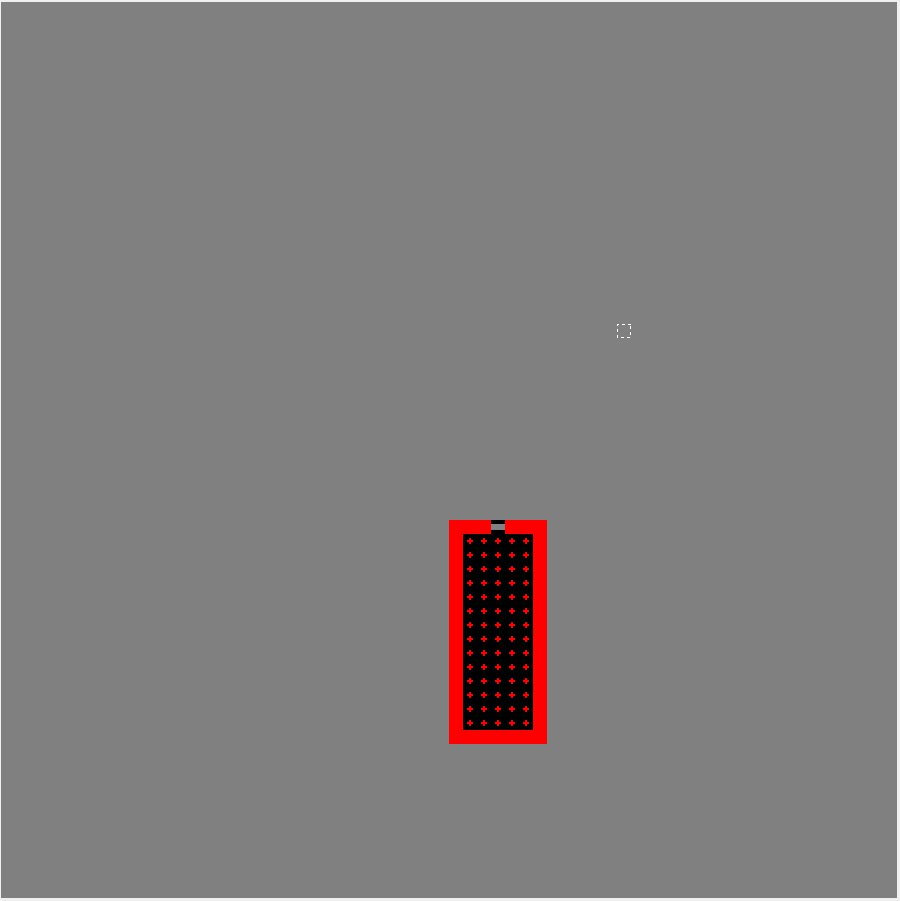
Now that you have an empty map before your eyes, you'll have noticed that it's divided into tiles. The average Wolfenstein 3D map is 64x64 tiles for a total of 4096. Also, every map has at least two separate planes. By default, the first plane contains walls, doors and floor codes, while the second plane encompasses objects and enemies. Thus, each single tile can be filled with one entity per plane, for example a floor code with an enemy on top of it.
The wall is the basic building block of every map. Walls determine the boundaries of each room; they also have aesthetic and navigational functions: they're pretty and help you recognize where you've already been. A wall cannot be walked through and does not contain any other objects (with one exception that will be discussed later). There's a wide variety of walls both functional and decorative: plain grey brick, blue brick with a prison cell, brown marble, and so on. Walls have slightly different textures (darker or brighter) on their horizontal (east/west) and vertical (north/south) sides. Never place a plane 2 object on a wall unless you know exactly what you're doing.

Floor codes are the most difficult Wolfenstein 3D mapping entities to understand. At their most basic, floor codes are room interiors: if you place a floor code on the map, there will be an empty space in-game. But that's not all there is to them. They are also responsible for sound propagation, that is, if you have two or more rooms filled with the same floor code, firing your weapon in one of these rooms will alert enemies in all others. This will happen even if these rooms are on the opposite sides of the map! Understanding floor codes is key in setting up interesting gunfights. Besides, every single room must be completely filled with a floor code, or the game will become buggy.
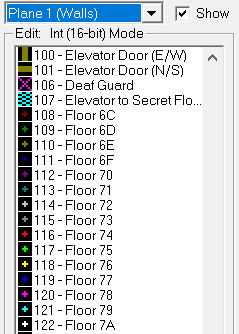
There are two special types of floor codes. The "deaf guard" floor code can be placed on a tile containing an enemy (but not a boss) and means that said enemy will not react to the sound of your gunshots; he will only become alerted upon seeing you. The deaf floor code is only for stationary enemies and does not work with dogs (who are always moving). The secret elevator floor code is usually only placed inside the elevator leading to the secret floor (duh), but it can also be used as a perfectly normal floor code if you really want to.
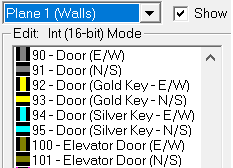
So now we have the walls of a room and its interior, but what good is a room if you can't enter or leave it? Obviously you need to place one or more doors. A door can be horizontal or vertical and one of the four main types: a regular unlocked door, two locked doors meant to be opened with gold and silver keys, and another unlocked door that usually leads to an elevator. Remember that if you open a door and fire your weapon, enemies on the other side of the door will hear your gunshots. It's also interesting to remember that enemies can open key-locked doors. You actually can (and are expected to) exploit this behavior in one of vanilla Wolf3D maps.
Using the above knowledge, draw a room in the editor (or many rooms if you feel like it): use walls to determine its boundaries, fill it with a floor code and add a door. Now that we have created some space, it's time to fill that space with plane 2 entities: objects and enemies.
Excluding special cases, objects can be roughly divided into two groups: decoratives and pickups. As the name suggests, the former mostly serve aesthetic purposes, though with some thought they can be made to perform other functions. Decorative objects either block you and your enemies (example: white column, table with chairs), or they don't (brown basket, vines). Blocking objects look nice, but they can also be used to affect enemy movement or hinder the player's movement. Vines can obscure the player's view. Just make sure that your blocking objects don't prevent the player from actually finishing the map by obstructing a crucial path. Playtesting your map once in a while is a never a bad idea.
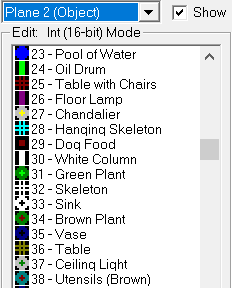
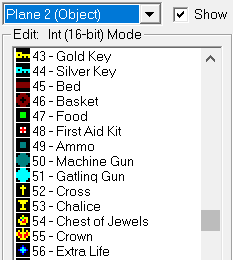
Pickups comprise a bunch of useful items: treasure that you pick up for points, health and ammo, weapons, one-ups, gold and silver keys. Wolfenstein 3D is a simple enough game that most of these items are self-explanatory. Obviously you need keys to progress, health and ammo to fight enemies, treasures to increase your score. Remember that one-ups count towards your treasure ratio at the end of the map in addition to providing an extra life, health and ammo. Quite a neat item, eh?
As for the special cases, the most important one is the start position: use it to determine where the player begins the level and which direction they will be facing. This is VERY important: without a start position, the player will be stuck inside a wall at the start of the map, unable to move at all. Moving on, we have secret pushwalls. This is the only case when you will place an object on walls. If you place the secret pushwall object over a wall, said wall can be activated in-game. Upon activation, the wall will move two tiles back, allowing passage to the room (or many rooms) beyond. Just remember that said secret room must be filled with the same floor code as the adjacent room (because they're technically the same room), or face consequences (bugs). Keep in mind that blocking objects, enemies and enemy corpses will block a moving pushwall in its tracks. Next are the eight turning point objects: these will be briefly discussed below. And finally, the endgame trigger is responsible for what happens when you finish Episode 1 after killing Hans: the camera turns around and moves back to see B.J. running and jumping up with joy. When using it, make sure it's oriented north (or the camera will show the wrong thing) and there's enough free space (or the camera will get stuck inside a wall). Six tiles of free space is a safe amount.
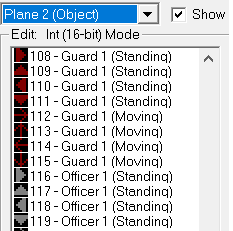
Finally, enemies. They're all wacky Nazis and their dogs. We have: doggos, brown guards, blue SS, white officers, mootants, and an elite selection of six dangerous bosses. In the editor, you can see numbers next to enemy names:
1 - means the enemy will be present on all difficulty levels
3 - only on Bring 'Em On and above
4 - only on Death Incarnate
Enemies can also be moving or stationary. In terms of moving enemies, here's where the special "turning point" objects come in handy: you can create elaborate patrolling paths for a bunch of enemies, just be careful so they don't get into each other's way and don't walk into static objects. Oh, and dogs are always moving, they have no stationary variant.
A few words about bosses specifically. First, bosses are always stationary, but there's no point in using the deaf guard floor code on them as they don't react to the sound of your gunfire anyway. As an interesting piece of trivia, depsite appearances, each boss has his own orientation and will not notice you if you approach from the opposite side. Specifically, Fake Hitler, Gretel and Giftmacher face north, while all other bosses face south. This is only true for DOS though, so if you're mapping for SDL or ECWolf, don't worry about it.
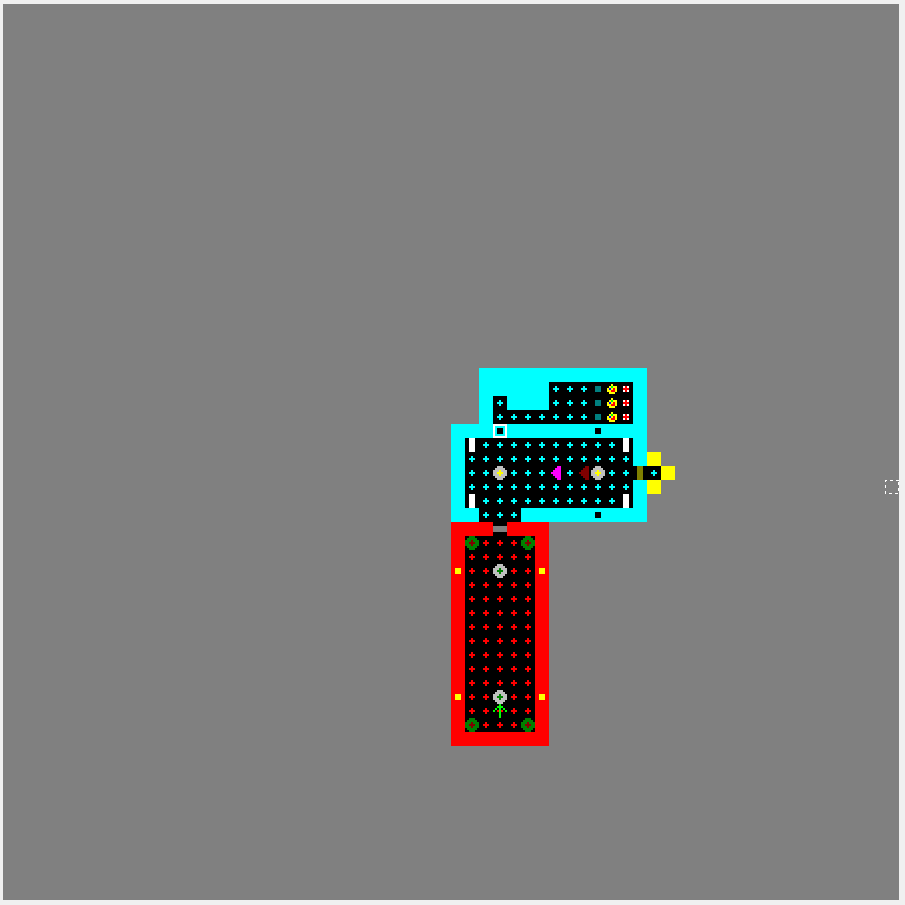
All right then. Put the start position inside the room you made before, then create a second room, connect it to the first room with a door, and fill it with logically placed decorations and pickups, and challengingly placed enemies. And now it's time for the final thing: a special wall called the elevator. Place the elevator door somewhere on the wall of the second room, then create an elevator just like on the screenshot. Remember, it has to be oriented towards the east or west, otherwise it's going to look goofy.
A word of warning: the vanilla version of Wolfenstein 3D and Spear of Destiny has some limits. So, you can have up to 149 enemies, up to 399 static objects (you can technically have a bit more, but the enemies won't drop ammo) and up to 64 doors. There is also a limit of objects visible on the screen at the same time: if there's too many, some of them will disappear. Think ahead with these limits in mind when mapping for vanilla Wolf... or ask someone to remove these limits for you.
And that's all. You've completed your first simple map and you're ready to make another step. Oh, and while this guide was written with Wolfenstein 3D in mind, mapping for Spear of Destiny is almost identical in nature. You simply have a slightly different set of walls, objects and bosses to choose from. Now go and make some maps!
-serpens